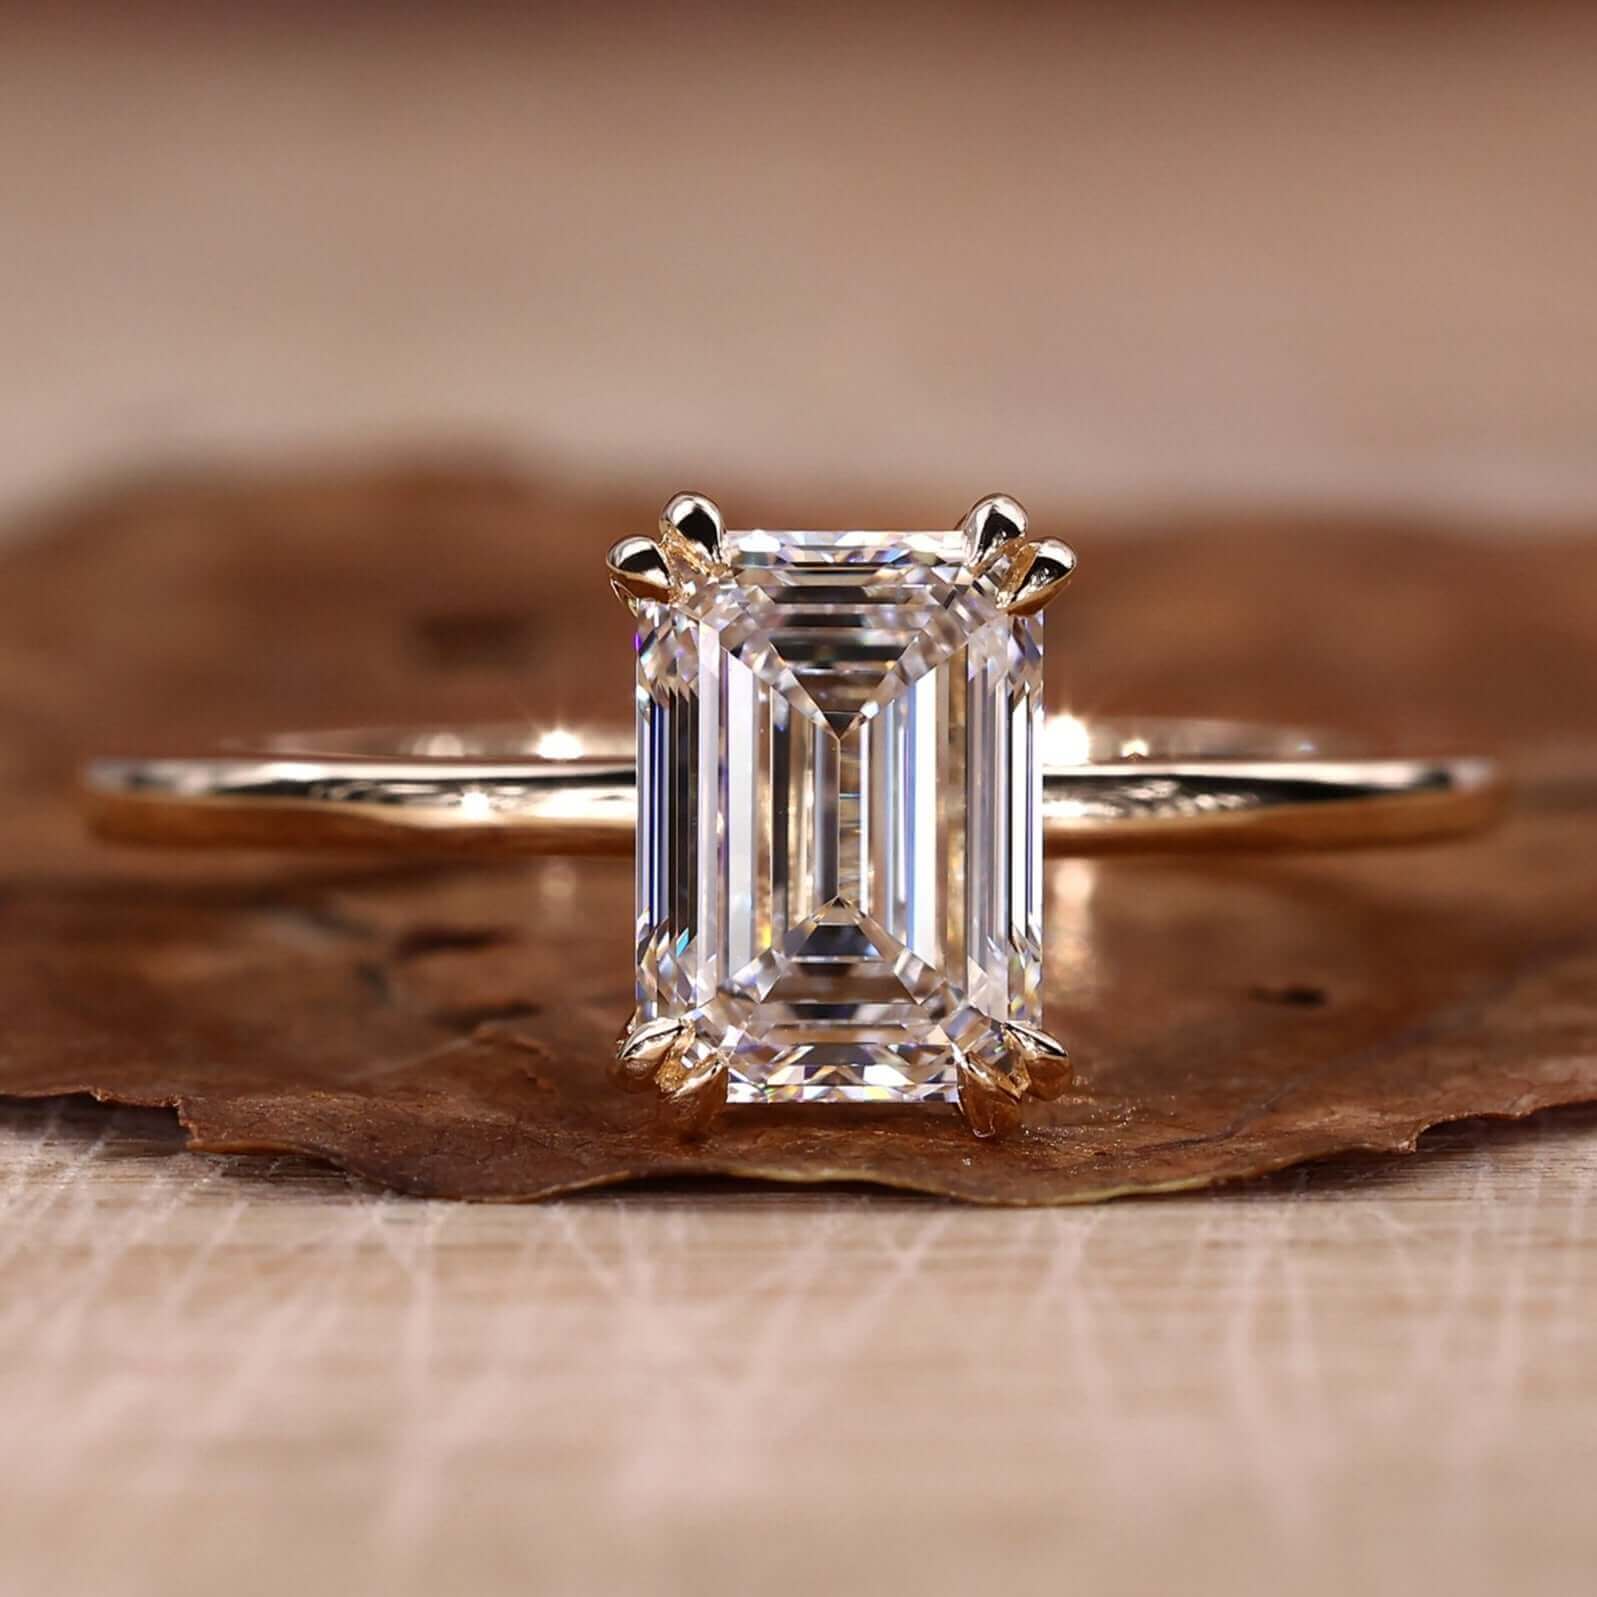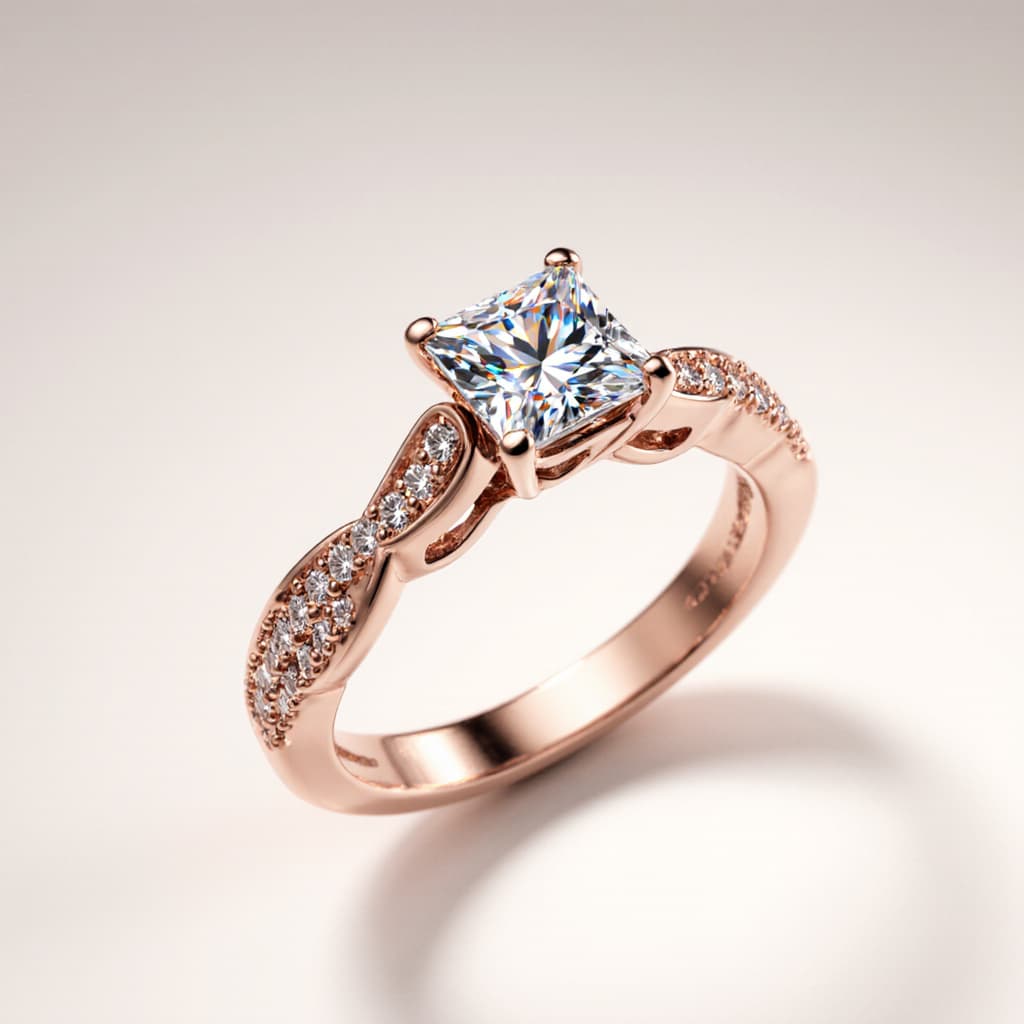
Introducing Segments: Change One Part, Keep the Rest
Tashvi now names the parts of a design — centre stone, prongs, band, halo, clasp — so you can edit the piece you meant without the rest of the jewelry drifting.
A follow-up like "make the band thinner" should change the band.
On most AI image tools, it does not. The model redraws the whole frame. The stone picks up a new facet pattern. The prongs shift. The metal tone drifts a half-shade. You asked for one thing and got a new ring.
Segments is how Tashvi stops that. Open a design on Create, and the sidebar lists the jewelry as named parts. Click the part you mean, describe the change, and everything outside that outline stays the original image.
What Segments is
Segments is a parts list for the design on the canvas — the same anatomy a jeweler already uses at the bench.
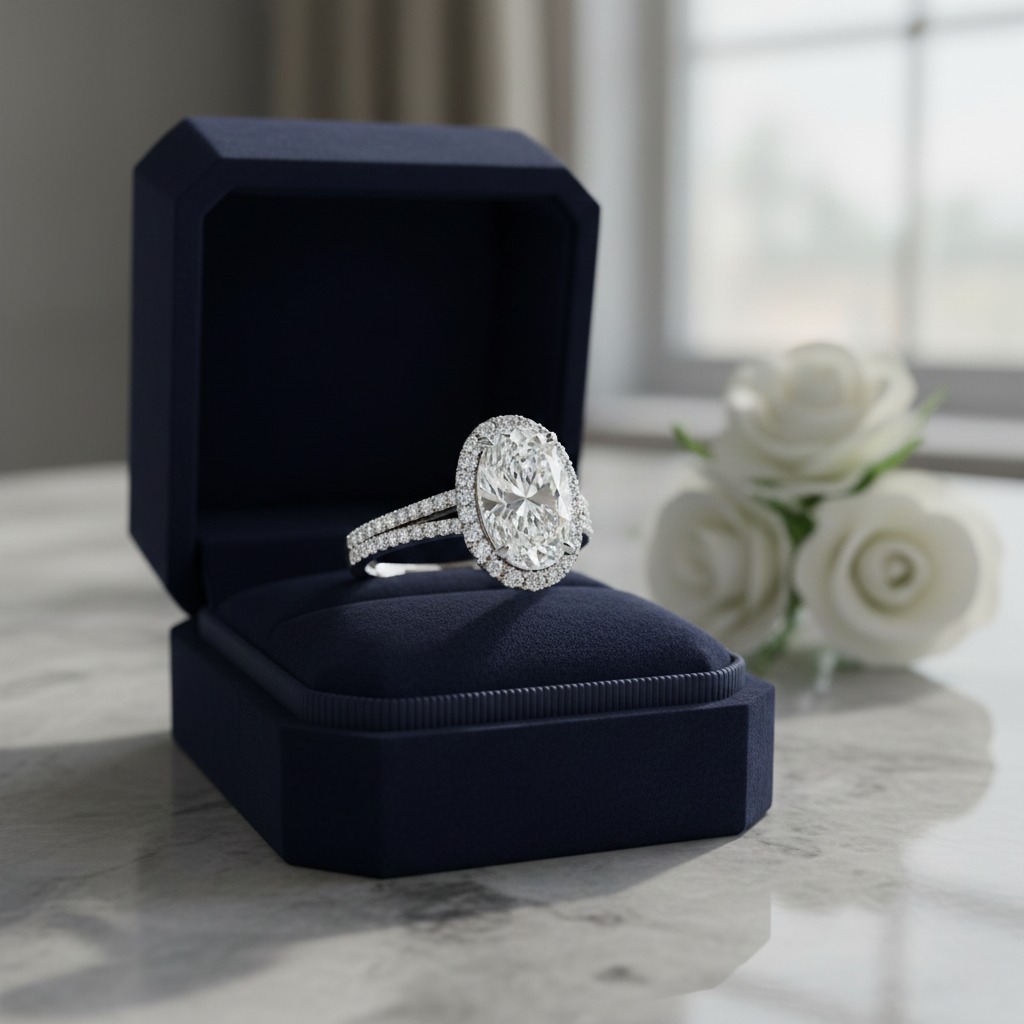
A four-prong solitaire does not come back as "object 1" and "object 2." It comes back as a ring, then centre stone, prongs, band, and setting head. A halo oval lists the halo as its own group of small stones. A necklace lists chain links, stones, clasp, and bail.
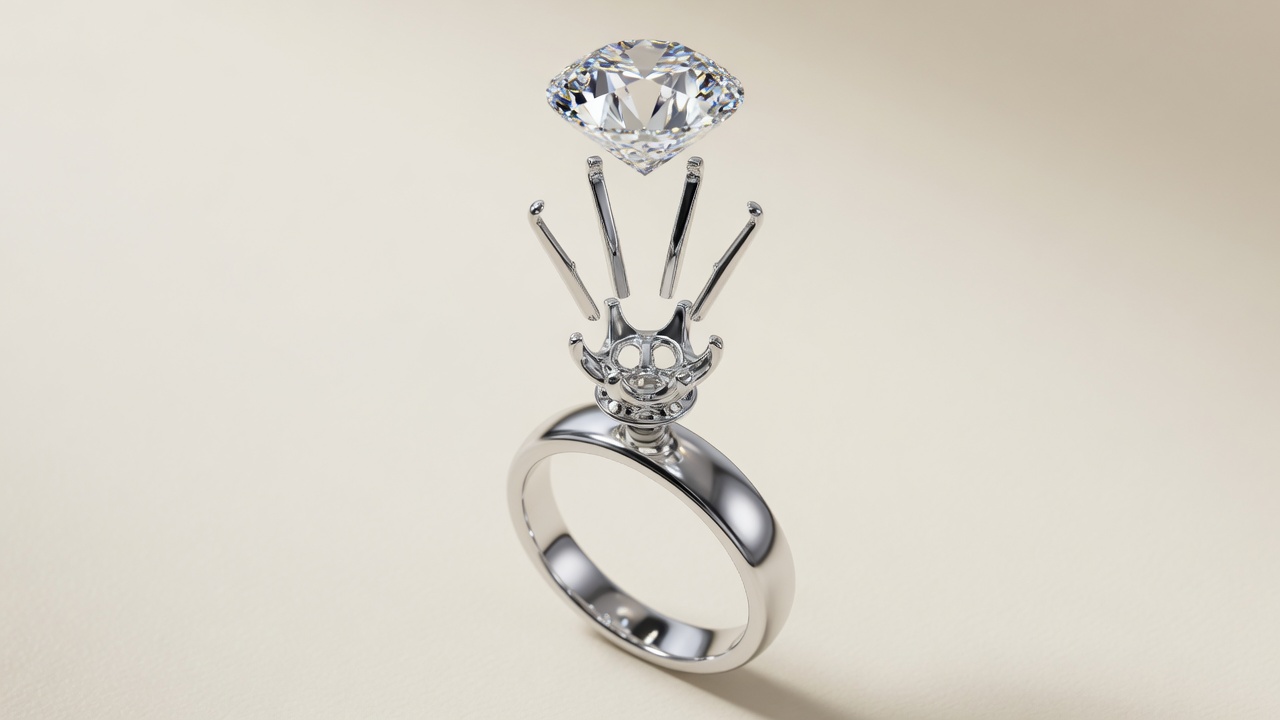
The words are jewelry words on purpose. The panel uses a fixed vocabulary so the same stone is still "centre stone" the next time you open the piece, not "bezel 3" on Tuesday and "side stone" on Wednesday.
How to use it
- Open one design on Create. Segments appears in the left rail, above Library, as soon as a single image is on the canvas.
- Browse the tree. The piece is the root. Groups sit under it. Repeated parts are numbered — prong 1 of 4, chain link 3 of 8.
- Hover to preview. Moving over a row outlines that part on the image. Moving over the image lights up the matching row. The smallest part under the pointer wins, so a stone inside a halo is the stone, not the halo.
- Click to select. One part, a whole group ("all four prongs"), or the piece itself. Click again to take it out.
- Describe the change in the composer, the way you already do: "make this rose gold," "change this to a cushion cut," "remove the milgrain."
That is the whole loop. No new prompt language. No mask-drawing as the default path.
You can also name a part. Type "the centre stone," "the prongs holding the centre stone," "the bail," or tap one of the common chips. Tashvi outlines it, you confirm the selection, then you type the edit. If it cannot find the part, it says so honestly — it does not invent a selection and charge you for it.
What the tree looks like
The listing is a hierarchy, not a flat pile of masks.
- Piece — ring, necklace, earring, pendant, bracelet, bangle, cuff, brooch, chain, watch. A click selects the whole item.
- Group — prong, side stone, chain link, halo. A click selects every instance in the group.
- Instance — prong 2, chain link 5. A click selects that one part.
- Scene — hand, person, background. These sit beside the jewelry, not inside it.
A product shot with a ring and a pendant on the same canvas gets two roots. Parts file under the piece they belong to, so the pendant's bail does not land on the ring.
Scene rows exist so you can change the setting without touching the jewelry: a different background, a different hand. The piece stays the piece.
What you can actually ask
Once a part is selected, the edit is an ordinary conversational change — scoped to that outline.
- Metal. "This band is 18k rose gold." The head and the stone stay put.
- Stone. "Change the centre stone to an oval sapphire." The prongs and the band do not get a new design.
- Setting. "Make these four prongs thinner." Neighbouring metal is not resized to match.
- Detail. "Add milgrain along the halo." The centre stone keeps its cut.
- Removal. "Take the halo off." The rest of the ring is the ring you already approved.
You can select several parts in one turn — two shoulders, a centre stone and its prongs, six stones on a necklace — and describe one change for all of them.
Why the rest of the piece does not drift
Generic image editors treat "edit this area" as a suggestion. They regenerate the frame and hope the unmentioned pixels come back the same.
Tashvi does not hope. The selected outline is the only region that is generated. The rest of the image is the original, composited back in. That is why a band edit does not quietly recut the diamond, and why a stone swap does not restyle the gallery underneath.
If the change does not actually land on the part you selected, the design is left alone and the chat says so. You are not charged for a near-miss that you then have to undo.
When Segments shows up
Segments is for one image on the canvas. That is the working design you are editing.
It does not list parts over a four-up variation grid or a Concepts layout — those are choices, not a piece under the loupe. Open one image, and the pane fills in. Switch back to a grid, and Segments steps aside until you pick a single design again.
The list is built once per image and reused while you work, so browsing parts is not a new generation.
What Segments knows how to name
On the piece: centre stone, side stone, accent stone, stone, prong, halo, bezel, band, shank, gallery, setting head, chain link, clasp, bail, post, earring back, engraving.
The piece itself: ring, necklace, earring, pendant, bracelet, bangle, cuff, brooch, chain, watch.
Anything that is visibly jewelry but does not fit those words is listed as other, rather than guessed into the wrong group.
The common chips — centre stone, side stones, prongs, halo, band, shoulders, setting head, bail — cover the asks that come up on almost every ring and pendant. Anything more specific, you can type.
Try it
Open a design on Create, click Segments in the left rail, and pick a part. The Segments guide walks through the tree, the chips, and what to do when a part is not listed.
A good first edit: take a solitaire you already like, select the band, and change only the metal. Then select the centre stone and change only the cut. The rest of the piece should look like the same photograph.
That is the point. Select the parts you mean. Change them without unexpectedly changing the rest.